Lighting & Projection
How to Make a Halloween Window Projection
Five steps. The screen is the part people improvise, and the part that decides whether it works.
Disclosure: we earn a commission from qualifying purchases made through links on this page, at no extra cost to you. It does not change what we recommend — here is how we choose.
The short answer
Hang a translucent rear-projection screen inside the window, darken the room completely behind it, place the projector roughly six to eight feet back aimed square at the screen, play the effect from a USB stick or media player, and keep all other yard lighting off that window.
Window projection produces the strongest illusion available in a yard haunt, and the whole thing hinges on one component people substitute: the screen.
Step 1: get a real screen
A purpose-made translucent rear-projection screen diffuses the image so it appears to occupy the space behind the window. That diffusion is the effect. A bedsheet does not diffuse the same way, it creases, and the creases show as hard lines across a figure's face from the street.
Buy the screen even if you improvise everything else. Size it to the window with some margin — a screen slightly larger than the opening is much easier to mount cleanly than one slightly smaller. Store it rolled rather than folded, because creases are permanent enough to matter.
Step 2: mount it flat
- Mount inside the window, not against the glass. A small gap avoids reflections off the pane.
- Get it flat and under gentle tension. Sag shows up as distortion in the image, and it is obvious on faces.
- Use a tension rod, clips or removable adhesive hooks. Nothing here should need drilling.
- Keep fixings out of the visible area. A clip silhouetted against a lit screen reads as a clip.
- Square it up. A screen a few degrees off vertical makes every figure look like it is leaning.
Step 3: darken the room properly
This is the step people underestimate. Any light in the room behind the screen washes the image out when viewed from the street — and *the room* includes light spilling in from a hallway, a landing, or a door left ajar.
- Turn off every light in that room, and close the door to anywhere lit.
- Cover or turn away anything with a standby LED or a bright display.
- Mask other windows in the same room if a street lamp comes through them.
- Check from outside, from the sidewalk, at night. That is the only viewpoint that counts.
Step 4: place the projector
Roughly six to eight feet back from the screen for a standard kit, though the right distance depends on the projector's throw ratio and the screen size. Aim square at the screen — the further off-axis you are, the more keystone correction you need, and keystone correction always costs image quality.
- Put it on something stable. A stack of books drifts. A tripod or a small table does not.
- Match the image to the screen. Fill it, do not overspill onto the frame, and do not leave black borders.
- Mind the fan noise if the room is next to where people will be standing.
- Check the projector orientation setting. Most have a rear-projection mirror mode, and without it your figures are handed the wrong way round. This is the most common single mistake in the whole setup.
Step 5: play the content
Effects come on USB sticks or as files. A projector with built-in USB playback is the simplest route because there is no laptop to keep awake and no screensaver to fire mid-evening. Set the content to loop, and turn off any on-screen display that overlays a file name or a progress bar.
Purpose-shot content matters here in the same way the screen does — effects filmed for rear projection are shot against black with the figure sized for a window, which is why a generic horror clip does not land the same way. AtmosFX versus a built-in projector covers the content side.
What to buy
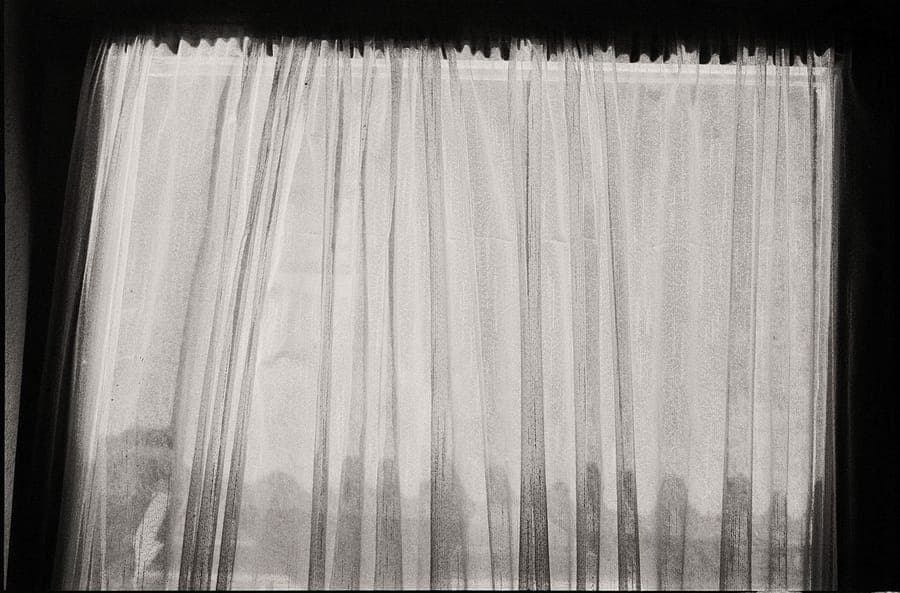
Translucent Rear Projection Screen
Reaper Brothers
The single component that separates a convincing window illusion from a bedsheet. Buy the screen even if you improvise everything else.
- Type
- Translucent rear-projection material
- Mounting
- Window or doorway
- Pairs with
- Any projector with the right throw distance
- Reusable
- Yes, across seasons
Good
- Purpose-made diffusion, which is what sells the apparition effect
- Works with any projector rather than locking you to a bundle
- Rolls up small for storage
Less good
- Needs a genuinely dark room behind it
- Creases show on camera if it is stored folded rather than rolled
- Window frames are rarely the size the screen is
- Illusion quality9.0
- Ease of setup7.4
- Weather exposure9.6
- Content variety6.0
- Value8.8
Spooky Halloween Hollusion USB with Projection Screen
AtmosFX
The content and the screen together, which is the pairing that actually makes window projection look like an apparition instead of a movie playing on a curtain.
- Contents
- Halloween effects on USB plus a rear-projection screen
- Screen size
- About 5.5 ft by 9 ft
- Needs
- A projector with USB playback
- Placement
- Projector roughly 6 to 8 ft from the window
Good
- Purpose-made translucent screen, which is the part people improvise badly
- Content designed for the illusion rather than generic video
- Works from inside the house, so nothing is weather exposed
Less good
- You still need a projector with USB playback
- Needs a dark room behind the screen to work
- Screen mounting in a window frame is fiddlier than it sounds
- Illusion quality9.2
- Ease of setup7.0
- Weather exposure9.6
- Content variety8.4
- Value7.6
Halloween Digital Decoration Kit
AtmosFX
Projector, content and screen in one box. Buy it when you have no projector and skip it when you do, because the projector is the part you might already own.
- Projector
- 1280 x 720 mini LED with sound and remote
- Content
- Halloween effects on USB
- Screen
- Translucent rear-projection screen included
- Placement
- About 6 to 8 ft from the window or doorway
Good
- Nothing else to buy or match up
- The included projector is specified for this job rather than for movies
- Remote and onboard sound mean no extra hardware
Less good
- 720p projector is modest if you want to use it for anything else
- Bundle pricing is poor value if you already own a projector
- Brightness limits how much ambient light the scene tolerates
- Illusion quality8.4
- Ease of setup9.2
- Weather exposure9.6
- Content variety8.4
- Value7.4
What usually goes wrong
| What you see | Cause |
|---|---|
| Figures facing the wrong way | Rear-projection mirror mode not enabled |
| Washed-out, gray image | Light in the room behind the screen |
| Hard lines across the image | Creases in an improvised screen |
| Leaning or distorted figures | Screen not square, or heavy keystone correction |
| Bright patch on the glass | Screen mounted against the pane, reflecting |
| Image drifts off over the evening | Projector resting on something unstable |
Making it part of the display
Keep your other lighting away from the window. A flood washing across a projection screen destroys it, and that includes your own porch light. Treat the window as its own pool of darkness with the image as the only light in it.
It also pairs unusually well with fog: a light haze outside the window softens the edge of the effect and makes it read as atmosphere rather than as a screen. The fog hub covers that, and the lighting roundup covers keeping the rest of the yard dark enough for it to work.
Frequently asked questions
How do you make a Halloween window projection?
Hang a translucent rear-projection screen inside the window, darken the room completely behind it, place the projector six to eight feet back aimed square at the screen, enable rear-projection mirror mode, and loop the effect from USB.
What can I use as a Halloween projection screen?
A purpose-made translucent rear-projection screen. Improvised sheets crease, and the creases show as hard lines across the image from the street. The screen is the component that creates the illusion.
Why is my window projection backwards?
The projector's rear-projection mirror mode is not enabled. Viewed from outside, an unmirrored image is handed the wrong way round. It is a setting, not a placement problem.
How dark does the room need to be for window projection?
Completely — including light spilling in from a hallway or an open door. Check from the sidewalk at night, because that is the only viewpoint that matters.
Can I project onto a window without a screen?
The image lands on the glass and mostly passes through, so from the street you get a faint, reflective mess. The screen is what stops and diffuses the light, and there is no substitute that works as well.
About the author
Mike M.
Mike M. is the hands-on owner behind Iron Mako Media, which publishes Haunt & Hedge. The site covers the gear that builds a yard haunt, for the person who already decorates and adds one bigger piece a year.
We do not run a test lab and we do not claim to have physically tested products we have not. Read how we choose picks.