Storage & Off-Season
The Best Way to Store Halloween Decorations
Organized by prop class, not by size. Sorting by size feels efficient in November and is useless in September.
Disclosure: we earn a commission from qualifying purchases made through links on this page, at no extra cost to you. It does not change what we recommend — here is how we choose.
The short answer
Dry everything completely first, then sort by prop class rather than by size: rigid totes for animatronics and electronics, bags or vacuum bags for fabric and inflatables, a long bag for anything giant, padded boxes for fragile extremities. Label per prop, keep each prop's hardware with it, and get everything off the concrete floor.
Almost all Halloween prop damage happens in a garage between November and August, and almost all of it is preventable for free. This is the routine.
Step 1: dry everything, properly
Free, and it does more than every container on this page combined. Not dry to the touch — actually dry, which for fabric means spread out for a day or two somewhere with moving air.
Moisture in a sealed container has nowhere to go and ten months to work. What you unpack next September is mold through the fabric, corroded contacts, and a smell that does not come out. There is no container expensive enough to fix packing something damp.
If the season ends in wet weather, bring things in and let them dry indoors before packing. A week of delay in November is worth it.
Step 2: pull the batteries
Every battery, out of every prop, before anything gets stored. A cell left in over winter is a corroded contact next September, and it is the single most common way a prop dies while doing absolutely nothing. It takes ten minutes across a whole display.
Step 3: sort by prop class
| Prop class | Container | Notes |
|---|---|---|
| Animatronics | Rigid tote, load-bearing lid | Crush protection is the point |
| Groundbreakers | Standard tote | Flat-pack, nothing fragile |
| Inflatables | Lidded bin, or vacuum bag in a bin | Keep the blower and stakes with each one |
| Giants | Long zippered bag, head boxed separately | Nothing stacked on the bag, ever |
| Fragile extremities | Small padded box inside a tote | These break under other things |
| Lighting and cords | Tote, wound on reels | Tangle prevention, not protection |
| Fog machine | Its own box, indoors | Run cleaning fluid through it first |
| Hardware and anchors | One labeled bag per prop | Otherwise lost by September |
Step 4: label by prop, not by size
Sorting by size feels efficient while you are doing it and is useless next September, because you will be looking for one specific thing rather than for medium-sized objects.
- One prop per container where the prop is big enough to justify it.
- Label on the side, not the lid. Lids get swapped and then the labels lie.
- Keep hardware with its prop. Blower with its inflatable, stakes with its skeleton, remote with its fog machine.
- Photograph the contents and tape the picture inside the lid. One minute, saves opening four boxes.
- Keep a one-page inventory somewhere you will find it. What you own, and which container it is in.
Step 5: get it off the floor
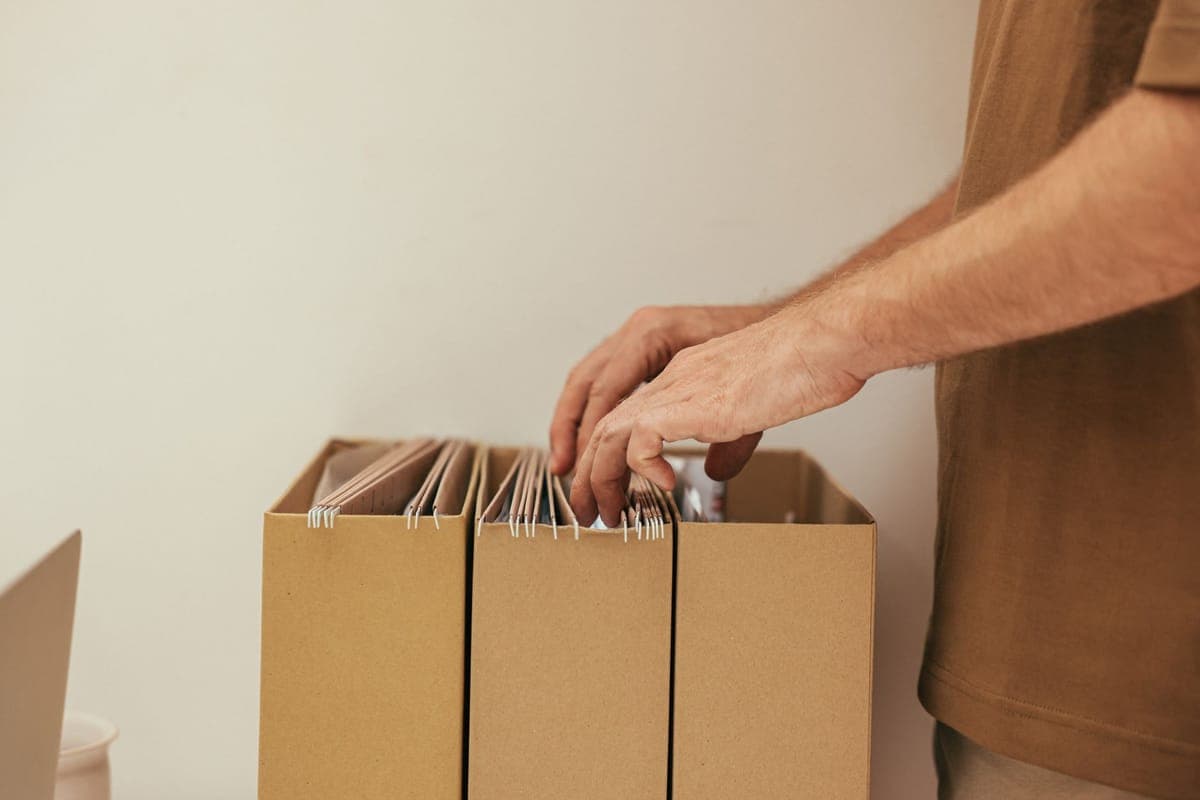
Concrete wicks moisture, garages flood, and the bottom tote in a stack carries the weight of everything above it. Shelving or an overhead rack solves all three at once and is the purchase that looks least related to Halloween while doing the most for it.
Halloween storage is a once-a-year retrieval, which makes ceiling space exactly right for it — you are not reaching for these totes in March. Check the load rating and land the fixings on real structure rather than drywall.
The off-season kit
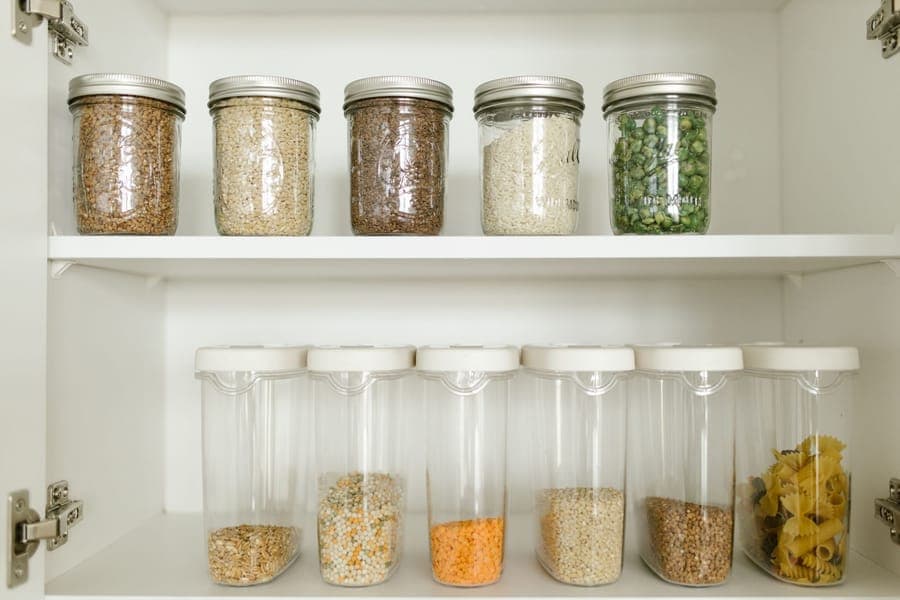
Latching Storage Tote
Sterilite
Latches are what stop a lid lifting when a stack shifts or a loft gets hot, and a lifted lid in a loft is how dust and pests get into a year of decorations.
- Closure
- Latching lid
- Capacity
- 64 qt on the common Halloween variant
- Use
- Loft, attic, high stacks
- Stacking
- Yes
Good
- Latches hold the lid down through heat cycling and stack shift
- Better dust and pest exclusion than a snap lid
- Still stacks
Less good
- Latches are the first thing to crack in a cold garage
- Costs more per gallon than a plain tote
- Not airtight, so this is not a humidity solution
- Stackability8.6
- Seal quality8.0
- Capacity8.0
- Durability7.8
- Value8.2
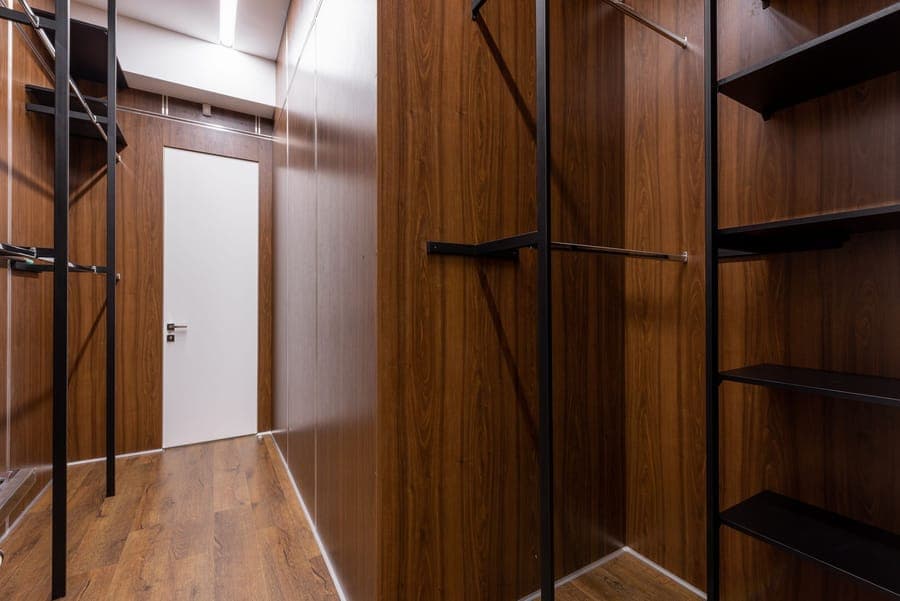
Heavy-Duty Garage Shelving Unit
Various
Stacking totes on a concrete floor is how you get a crushed bottom tote and a damp one. Shelving fixes both problems at once.
- Type
- Free-standing shelving
- Shelf depth
- Match to your tote footprint before buying
- Load
- Check the per-shelf rating
- Material
- Steel or resin
Good
- Nothing bears the weight of the stack above it
- Everything is off the concrete, away from damp and flooding
- You can reach the tote you want without unstacking four others
Less good
- Shelf depth often does not match standard tote footprints
- Takes wall length, which a small garage does not have spare
- Needs anchoring to the wall if it is loaded high
- Space saving7.4
- Protection9.0
- Ease of use9.2
- Durability8.8
- Value8.2
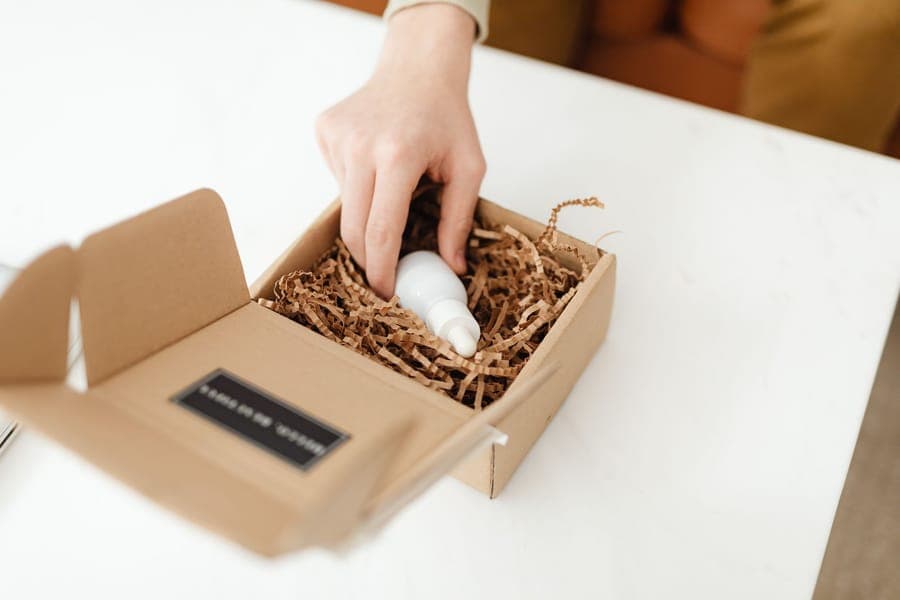
Container Moisture Absorbers
Various
The cheapest insurance on a year of storage. Props do not usually go in wet, they go in slightly damp, and then sit sealed for ten months.
- Type
- Calcium chloride moisture absorber
- Use
- One per tote in a damp space
- Life
- Replace annually
- Caution
- The collected liquid is corrosive, so keep it upright
Good
- Pennies against the value of what is in the tote
- Handles the residual damp you cannot see when you pack
- Also works in a skeleton storage bag
Less good
- Must sit upright or the collected brine leaks onto the contents
- Needs replacing every year to do anything
- Not a fix for actually wet props, which you have to dry first
- Protection8.6
- Ease of use9.0
- Durability5.0
- Coverage7.4
- Value9.4
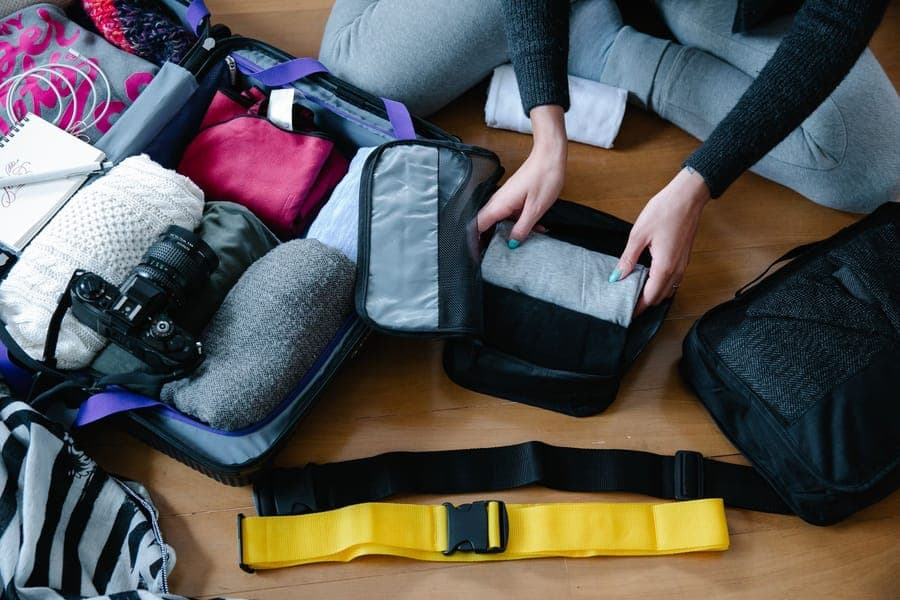
Jumbo Vacuum Storage Bags
Various
Compressing an inflatable is the single biggest space win in the garage, with one condition that is not optional: it has to be bone dry first.
- Type
- Vacuum compression bag
- Requires
- A vacuum cleaner hose
- Critical
- Contents must be completely dry
- Reusable
- Yes, until the valve fails
Good
- Cuts an inflatable's stored volume dramatically
- Seals out dust, pests and damp air
- Cheap relative to the shelf space it frees
Less good
- Sealing anything damp grows mold you will not find until next October
- Long-term compression can crease coated fabric permanently
- Valves fail and bags re-inflate over months
- Space saving9.6
- Protection7.8
- Ease of use7.4
- Durability6.4
- Value8.8
Step 6: the ten minutes that save next season
- Add a moisture absorber to anything sealed, upright, and replace it every year.
- Note what broke while you remember which prop it was, so you can order parts in the quiet months.
- Note what you wished you had. Next October you will not remember that you ran out of stakes.
- Buy storage now. November is the cheapest week of the year for totes, bags and shelving, and it is exactly when you need them — see the buying calendar.
Garage or attic
Both work if the contents are dry and off the floor. Attics swing hotter, which is hard on adhesives and thin plastics, so latching lids matter more up there and fragile electronics are better kept lower down. Garages are damper and occasionally flood, which is why shelving matters more down there.
What neither tolerates is damp contents in a sealed box, which brings it back to step one. For prop-specific detail, inflatables and animatronics and giants go deeper.
Frequently asked questions
What is the best way to store Halloween decorations?
Dry everything completely, pull every battery, then sort by prop class: rigid totes for animatronics, bags for fabric and giants, padded boxes for fragile extremities. Label per prop, keep each prop's hardware with it, and store it all off the concrete floor.
How do you store outdoor Halloween decorations?
The same way, with more emphasis on drying, because outdoor props come in with a month of moisture in them. Clean soil out of anything that was staked into the ground before it goes away.
Should I take the batteries out of Halloween props?
Always. A battery left in over winter is a corroded contact next September, and it is the most common way a prop dies while doing nothing at all.
How long do you keep Halloween decorations up?
Most people take them down in the first week of November, which is also when storage is cheapest to buy. The longer props stay out past the season, the more weather exposure they take for no audience.
Is it better to store Halloween decorations in the attic or garage?
Either works if they are dry and off the floor. Attics run hotter, so use latching containers and keep electronics lower down. Garages are damper and can flood, so shelving matters more there.
About the author
Mike M.
Mike M. is the hands-on owner behind Iron Mako Media, which publishes Haunt & Hedge. The site covers the gear that builds a yard haunt, for the person who already decorates and adds one bigger piece a year.
We do not run a test lab and we do not claim to have physically tested products we have not. Read how we choose picks.