Inflatables
How to Keep Halloween Decorations From Blowing Away
Seven steps, in order. The first two are free, and they do more than the hardware does.
Disclosure: we earn a commission from qualifying purchases made through links on this page, at no extra cost to you. It does not change what we recommend — here is how we choose.
The short answer
Place props in the wind shadow of the house or a fence, use every anchor point rather than the front two, replace the supplied stakes with corkscrew ground anchors, add guy lines to the upper body on tall props, use doubled sandbags on hard surfaces, re-tension after the first heavy rain, and deflate before a storm.
Wind is the number one reason a Halloween display ends early, and the fixes are cheap and mostly ignored. Here they are in the order that matters, which is not the order people do them in.
The seven steps
1. Place it in a wind shadow (free)
Before any hardware, look at where the wind comes from on your lot and put the vulnerable props where the house, a fence line or a hedge breaks it. A tall inflatable tucked against the lee side of a garage is in a completely different wind environment from the same prop in the middle of an open lawn, and it costs nothing.
The corollary: do not put a tall prop at the corner of a building. Corners accelerate airflow, which is why that is exactly where you find the props that failed.
2. Choose shape deliberately (free, at purchase)
Wide and low survives; tall and narrow does not. If you are still buying, this is the highest-leverage decision available — see wind-resistant inflatables. If you already own a tall prop, put it in the most sheltered spot you have and over-anchor it.
3. Use every anchor point
This is the most common anchoring mistake and it is entirely free to fix. Manufacturers provide four to six anchor points; most people use the two at the front. The problem is not that two is half as strong — it is that load redistributes to whatever is still attached, so the unanchored corners lift first and then peel the anchored ones out.
4. Replace the stakes with corkscrew anchors
Supplied stakes are thin, short and straight. They hold in dry compacted soil and slide out of saturated ground, which is the ground you actually have in late October. A corkscrew anchor makes the soil shear around the whole spiral instead of sliding along a smooth shaft, and that is a completely different order of holding power.
Turn them in until the eye is at ground level. If you hit rock or root, move the anchor rather than leaving it half-seated — a half-seated anchor gives false confidence, which is worse than an obvious gap.
5. Add guy lines on anything tall
Base anchoring stops a prop sliding. Guy lines stop it being levered over, and for anything above about six feet, being levered over is the failure you are actually preventing. Run lines from a solid point on the upper body to separate anchors spread around the prop — three at roughly even spacing resists a push from any direction.
Tension firmly, not tight. Over-tension deforms an inflatable, stresses seams, and on a rigid prop pulls the frame out of alignment. Use tensioners so you can retighten mid-season.
6. On hard surfaces, use doubled weights
No stake works on concrete, pavers or decking. Use sandbags, double them up at every anchor point, and tether to the bags rather than resting the prop's base on them — a bag that is merely sat on does nothing when the prop lifts. Water-fill bags are fine until the first freeze, at which point they are not.
7. Re-check after the first heavy rain
This single check prevents most mid-season failures. Saturated ground lets anchors creep, guy lines stretch, and a prop that was solid a week ago is loose. Walk it, retension everything, and turn any anchor that has lifted back down.
The anchoring hardware
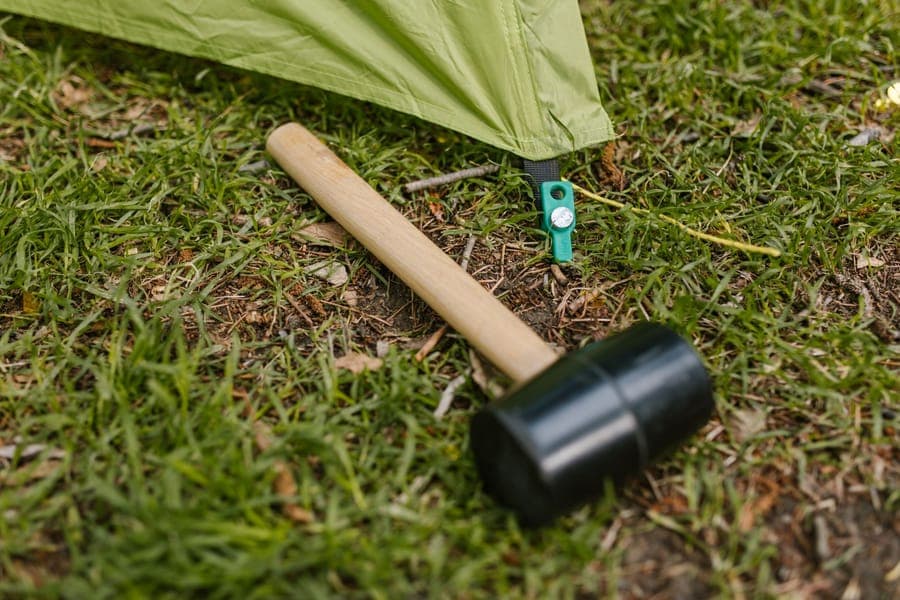
Corkscrew Ground Anchors
Various
The single highest-value upgrade in this whole category: the thin U-stakes in the box pull straight out of wet ground, and a corkscrew does not.
- Type
- Spiral or corkscrew ground anchor
- Common length
- 10 to 15 in
- Best ground
- Turf and soil, not gravel or hardstanding
- Installation
- Hand turned, no driving
Good
- Holds in saturated soil where a straight stake lifts
- Screws in by hand, so no mallet and no bent stakes
- Reusable season after season
Less good
- Useless on concrete, pavers or frozen ground, where you need weights instead
- Takes longer to install than driving a U-stake
- Leaves a visible plug hole in a manicured lawn
- Holding power9.2
- Ground versatility6.4
- Durability8.8
- Setup effort8.0
- Value9.0
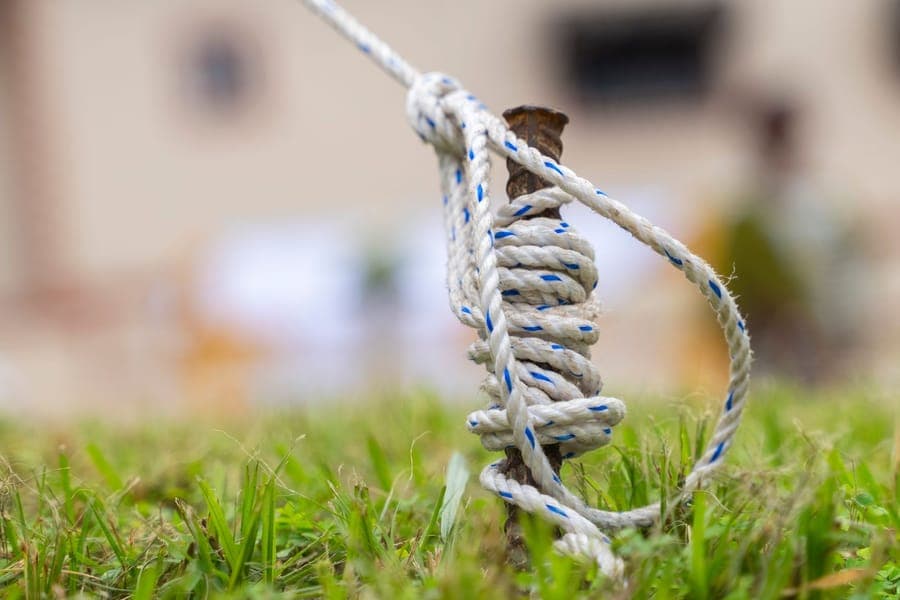
Inflatable Tie-Down Strap and Stake Kit
Various
Buy the kit so every anchor point has a strap, because the failure is almost never the strap you fitted. It is the two corners you skipped.
- Contents
- Straps, stakes, tensioners
- Anchor points
- Four minimum per inflatable
- Adjustment
- Cam or ratchet tensioner
- Reusable
- Yes
Good
- Enough hardware to do every corner rather than the front two
- Tensioners let you retighten after the fabric settles
- Works with inflatables, arches and lightweight rigid props
Less good
- Over-tensioning deforms the inflatable and stresses the seams
- Kit stakes are often the same thin stock as the ones you are replacing
- Straps are a trip hazard across a path unless you flag them
- Holding power8.0
- Ground versatility7.0
- Durability7.6
- Setup effort8.2
- Value8.6
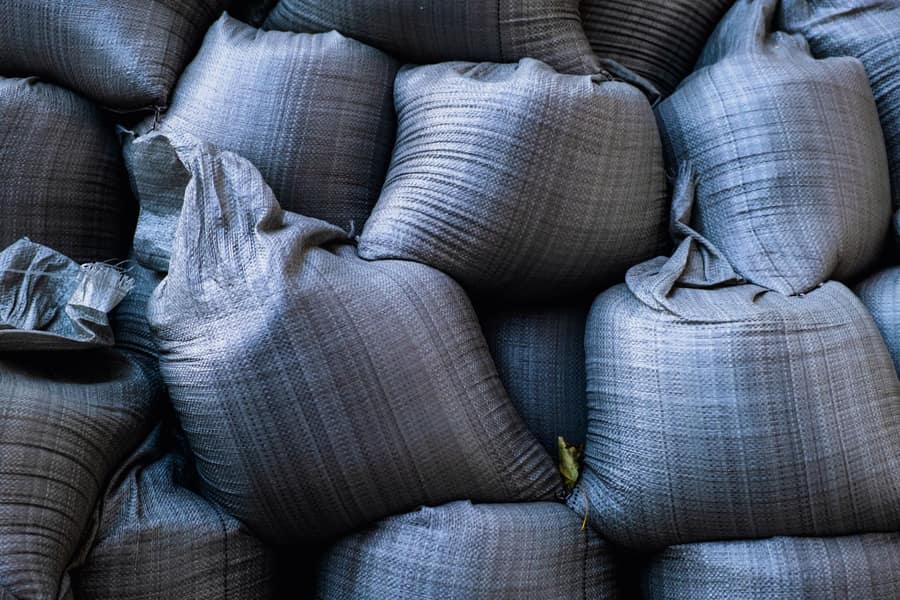
Sandbag Anchor Weights
Various
The answer on any surface you cannot drive a stake into. Double up per anchor point on a driveway, because a bag that slides is a bag that did nothing.
- Type
- Sand or water-fill anchor bag
- Surface
- Concrete, pavers, decking, rooftop
- Attachment
- Grommet or loop to a tether
- Storage
- Empties flat
Good
- Works where no stake will go
- Empties flat for storage instead of taking a tote
- Stackable per anchor point for larger displays
Less good
- Needs doubling up on larger inflatables or in real wind
- Sand has to come from somewhere and go somewhere
- Water fill is useless once it freezes
- Holding power7.8
- Ground versatility9.4
- Durability8.0
- Setup effort7.4
- Value8.4
Vinyl Patch and Repair Tape Kit
Various
Most inflatable failures are a small tear the blower cannot keep up with, and a patch kit turns a dead prop back into a working one in ten minutes.
- Contents
- Adhesive patches and repair tape
- Works on
- Coated polyester and vinyl
- Cure
- Needs a dry, clean surface
- Storage
- Keep one in the Halloween tote
Good
- Turns a whole-prop write-off into a ten-minute repair
- Small enough to live permanently in the storage tote
- Patching a seam early stops it running further
Less good
- Needs the fabric genuinely dry, which in October is the hard part
- Cosmetically visible on light-colored fabric
- Will not fix a blower or a wiring fault, which is the other half of the failures
- Fix rate8.6
- Repair durability7.8
- Ease of use8.8
- Value9.4
- Shelf life8.0
When to give up and take it down
None of the above makes a fabric structure safe in a real storm, and pretending otherwise is how props end up in the street. Deflating takes two minutes. If you will not be home, a smart plug that cuts power on a schedule at least means a deflated prop rather than an inflated one riding out a gale — timers and smart plugs covers that.
One more thing worth knowing: if a prop does break loose and tear, that is usually repairable. A vinyl patch kit fixes most fabric failures in minutes provided the fabric is genuinely dry when you patch it. Inflatable troubleshooting covers the rest of the failure modes.
Anchoring rigid props
The same principles apply and the same hardware works. Rigid props have the advantage that they do not flog, and the disadvantage that when they go over, something breaks. Keeping a 12-foot skeleton upright is the version of this for giants, where the stakes are higher in both senses.
Frequently asked questions
How do you anchor a Halloween inflatable?
Corkscrew ground anchors at every anchor point the manufacturer provides, plus guy lines from the upper body to separate anchors on anything tall. Re-tension after the first heavy rain, because saturated ground lets anchors creep.
Why do Halloween inflatables blow over even when staked?
Usually because only the front anchor points were used, or because the supplied straight stakes pulled out of wet ground. Load redistributes to whatever is still attached, so unanchored corners lift first and then peel the anchored ones out.
How do you secure decorations on a driveway or concrete?
Doubled sandbags at every anchor point, tethered to the bags rather than resting the base on them. Treat it as a fair-weather placement — weighted bases slide before they tip, and they do both in real wind.
How windy is too windy for a Halloween inflatable?
There is no universal number, because it depends on shape, fan and exposure. The practical rule is that once you are asking the question, take it down — deflating takes two minutes and recovering a prop from a neighbor's hedge does not.
Do guy lines really make a difference?
On anything tall, yes, and they are the step people skip. Base anchors stop a prop sliding along the ground; guy lines are what stop it being levered over, which is the failure that actually happens.
Sources
About the author
Mike M.
Mike M. is the hands-on owner behind Iron Mako Media, which publishes Haunt & Hedge. The site covers the gear that builds a yard haunt, for the person who already decorates and adds one bigger piece a year.
We do not run a test lab and we do not claim to have physically tested products we have not. Read how we choose picks.